When you bring a record home, you remember the cover, where you found it, and why you wanted it. A few months later, the questions change: “Do I already own this?” “Where did I put that Japanese pressing?” “What should I play tonight?”
Organizing vinyl is most useful when it gives you three ready answers: what you own, where it lives, and what you want to hear next. A tidy-looking shelf is only part of the job.
This guide is for a collection at home. You do not need a complete database on day one. Start with a system that makes records easy to find and return, then fill in the details gradually.
1. Choose one primary sorting rule
A physical record can occupy only one place at a time. The more rules you introduce, the harder it becomes to put it away. Think about how you look for music: do you start with an artist, a genre, or an album title?
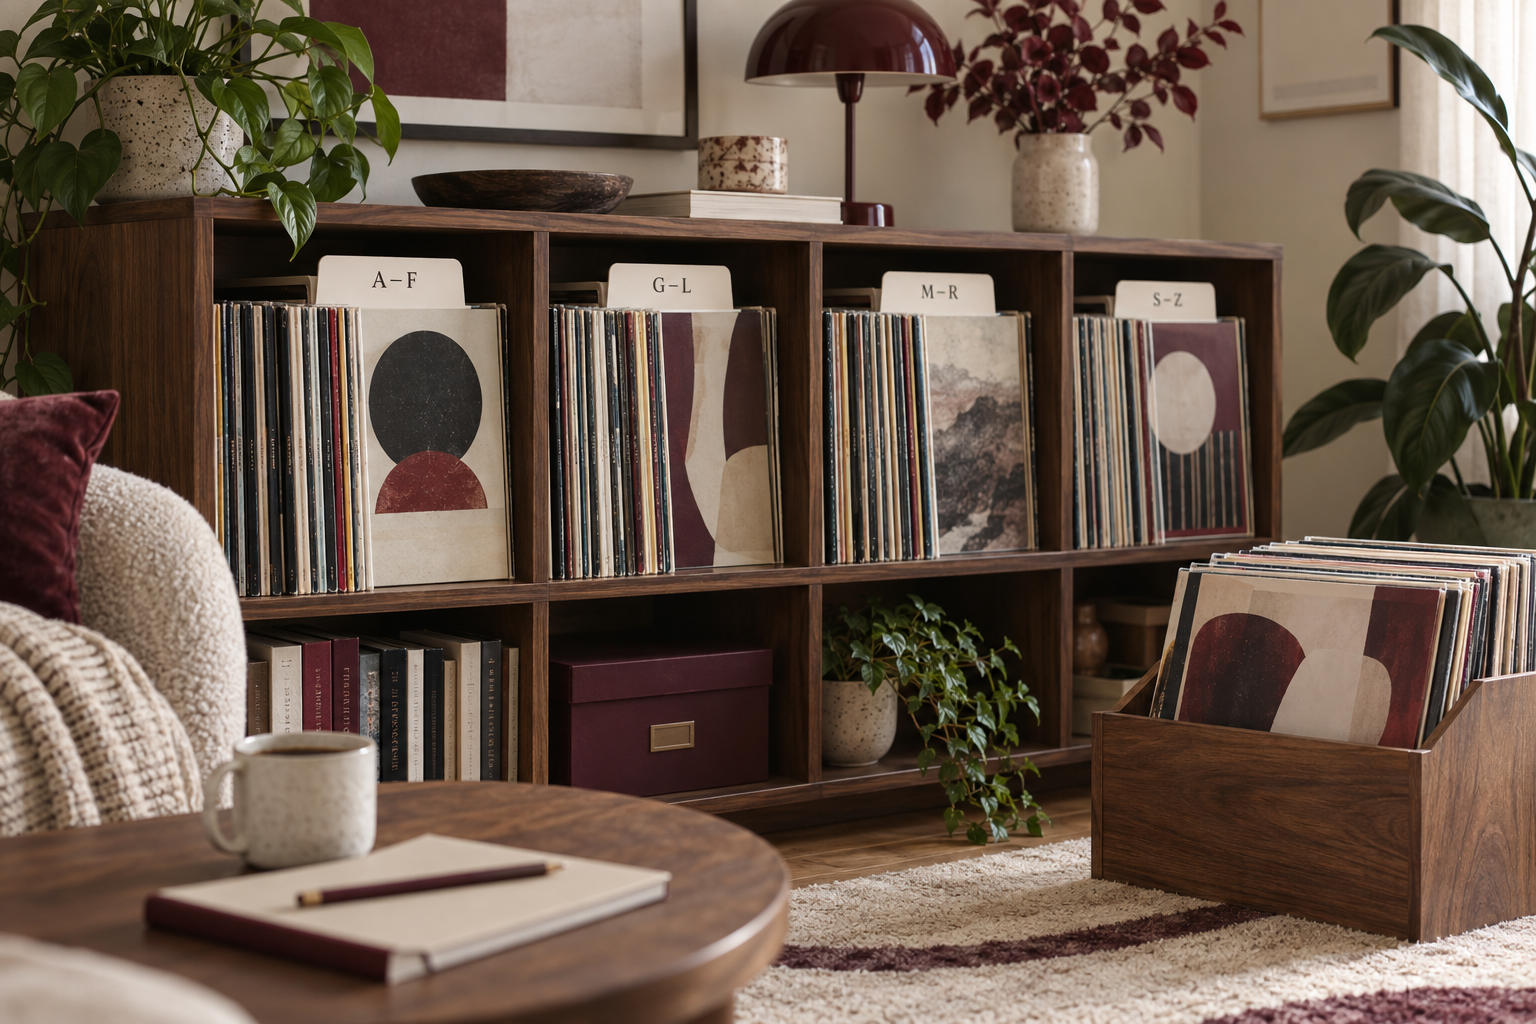
Sort by artist if you usually think of a person or band first. Keep their records together, then arrange the albums by release order or title. Decide whether to ignore “The” in English band names and how to sort names written in other languages. Your choice matters less than applying it consistently. Compilations can have a separate “Various Artists” section.
Sort by genre if you usually start with a kind of music. Begin with a few broad sections, such as Jazz, Rock, and Electronic, then sort by artist within each one. Avoid creating dozens of narrow categories immediately. If an album blends jazz, funk, and electronic music, put it where you would first think to look for it.
Sort by album title if titles are what you remember best. This is straightforward, although an artist’s records will be scattered across the collection. If you own many soundtracks, a separate section arranged by film title may be more useful.
Cover colors can make an attractive display. But if you rarely remember an album’s color, there is little reason to make color the main way of finding your entire collection.
An accessible starting point is broad category → artist → album. For a smaller collection, artist → album may be enough. There is no fixed record count at which you must change systems. Add dividers or subdivisions when you begin looking in the wrong section repeatedly.
2. Catalog the edition you own, not just the album
An album may exist in different countries, years, labels, reissues, and vinyl colors. Matching artwork can identify an album without establishing the exact release in your hands.
Start a search with a barcode, catalog number (CatNo), or artist and album name, then compare the candidates. Discogs uses information such as labels, catalog numbers, barcodes, and matrix/runout inscriptions to help identify releases. Consider those clues together. Reference: Discogs barcode and identifier guidelines
Check four things first:
- Label and catalog number: Read what is actually printed on the sleeve and center labels.
- Format: Compare disc size, number of discs, speed, and features such as black or colored vinyl.
- Release information: Check the candidate’s country and year. An album’s original release year is not automatically the year of your reissue.
- Distinguishing details: When releases look similar, examine label designs, packaging, and inscriptions in the runout area near the center label.
For a first pass, record the artist, album title, identifying details, and storage location. Purchase date, price, seller, and included extras can follow later. If the edition is uncertain, mark it “to verify.” That is more useful than confidently choosing a near match.
These are general suggestions for a catalog or spreadsheet. They do not imply that every record-management app offers all of these fields.
3. Give each record a fixed address
If you can find a title in your catalog but still have to search an entire wall, a location field is probably missing.
Label cabinets and compartments simply. For example, the second compartment in cabinet A can be A2. A compartment is usually precise enough. Numbering every position within it creates extra work whenever you insert a new record.
A personal catalog entry could look like this:
Woodland Trio — Evening Breeze (fictional example)
- Edition clues: example label / CAT-024 / 1LP / black vinyl
- Main category: Jazz; location: A2
- Record condition: VG+; sleeve condition: VG
- Observations: crease at the sleeve’s top-right corner; light surface noise at the start of side A
- Whereabouts: on shelf
Put location labels on the cabinet, divider, or a replaceable outer protective sleeve, rather than directly on the original jacket. When lending a record, note the borrower and date. When moving it to a different compartment, update its location at the same time.
For a cross-genre album, choose one primary physical location. If your digital catalog supports tags, add other ways to find it, such as “Fusion” or “Late-night listening.” You can then approach the same record from different directions without repeatedly moving it.
4. Separate condition, tasks, and your wantlist
“I own it,” “I need to clean it,” and “I want to buy it” describe different things. Keeping them separate makes your collection easier to understand.
Your collection catalog records what you already own. Your wantlist records what you are looking for, including the edition you want. A task list tracks cleaning, listening checks, release verification, or missing extras. Paper or a simple note is enough for those tasks; organizing records need not become a complicated project.
Keep condition descriptions separate too: assess the disc and sleeve individually, and add specific observations. “Looks good” will tell you little in six months about whether you meant the sound, the playing surface, or the packaging.
Discogs uses the Goldmine grading standard, in which VG+, VG, and G have defined meanings. “Good” is a grade, not a promise of nearly new condition. Grade what you can assess, and label an unplayed inspection “visual only, not play-tested” rather than treating photographs as a complete playback assessment. Reference: Discogs condition grading guide
5. Store records for protection as well as access
Store records upright with enough support. Avoid leaving them at a pronounced angle or in horizontal stacks for extended periods. Do not pack a compartment so tightly that pulling one record out drags its neighbors along with it.
Choose a stable environment away from direct sunlight, heat, and damp-prone areas. Handle a bare record by its edges and center label area to minimize contact with the grooves. Use an appropriate inner sleeve, with separate protection for the jacket if desired, and let a cleaned record dry fully before putting it away. Reference: Library of Congress care and storage guidance
Allocate separate space for 12-inch records, 7-inch singles, and bulky box sets while keeping your naming rules consistent. Match cleaning methods to the recording medium and the cleaning product’s instructions; a method suited to ordinary vinyl should not automatically be applied to every older disc.
6. Use GROVV to reduce entry work and rediscover your collection
In GROVV, scan a barcode or catalog number to search, review candidate releases, and add the matching edition to your collection. Scanning starts the search; the final check still comes from comparing the result with the record in your hands.
Keep owned records in your collection and future finds in Wanted. Browse and organize through Crates to make the catalog easier to explore. Physical shelf locations, loans, and cleaning tasks can be recorded separately as needed.
Once the organizing is done, give those records another chance to be heard. Open Today’s Pick, or use Shuffle to choose something else from your own collection. A catalog can help you avoid accidental repeat purchases while bringing long-overlooked records back into view.
7. Start with one compartment and build a habit
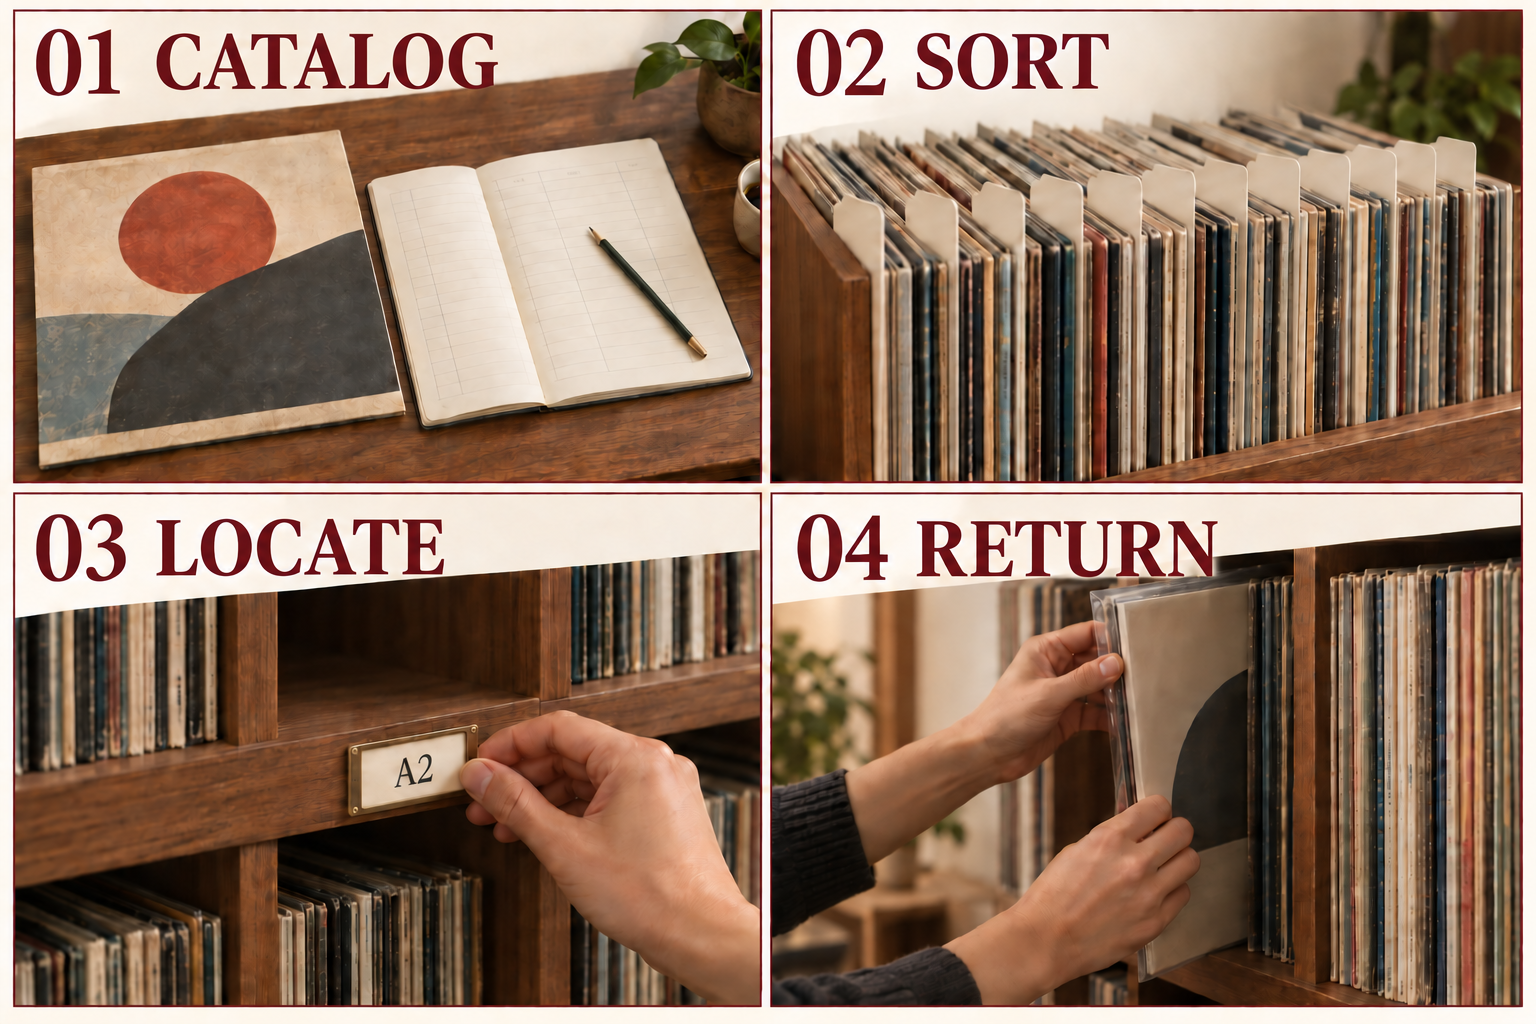
You do not need to empty the whole wall. Choose one compartment and complete a small cycle:
- 1. Choose its sorting rule and place the dividers.
- 2. Catalog the records and edition clues, marking uncertain releases for verification.
- 3. Record the location and return everything according to the rule.
- 4. Pick a few titles at random and check whether the catalog leads you to the physical records.
For each new arrival, repeat verify → catalog → categorize → put away. Return records to their usual place after listening, and update the catalog when you move them. Clear temporary piles periodically and keep a backup of your spreadsheet or notes.
If maintenance becomes tiring, simplify the categories and fields first. The right system should leave you with more time to listen.
Tonight, start with your most recent purchases. Give them a permanent place, then choose one to put on the turntable.